I love reality tv competition shows. After the Olympic coverage ended last night, I was searching for what to watch and I signed into Netflix. I found that one of my favorite shows “Glow Up” had dropped a new season! During the beginning of my unemployment, I binged a TON of reality tv competition shows and this was one was my favorites. “Glow Up” is a make-up artist competition show based in London. MUAs (Make-Up Artists) compete n different challenges involving prosthetics, television make-up, and other really fun challenges, like a pop art lip, or smoky eye. In honor of my latest binge, I’m going to teach everyone how to do the perfect Smoky eye!
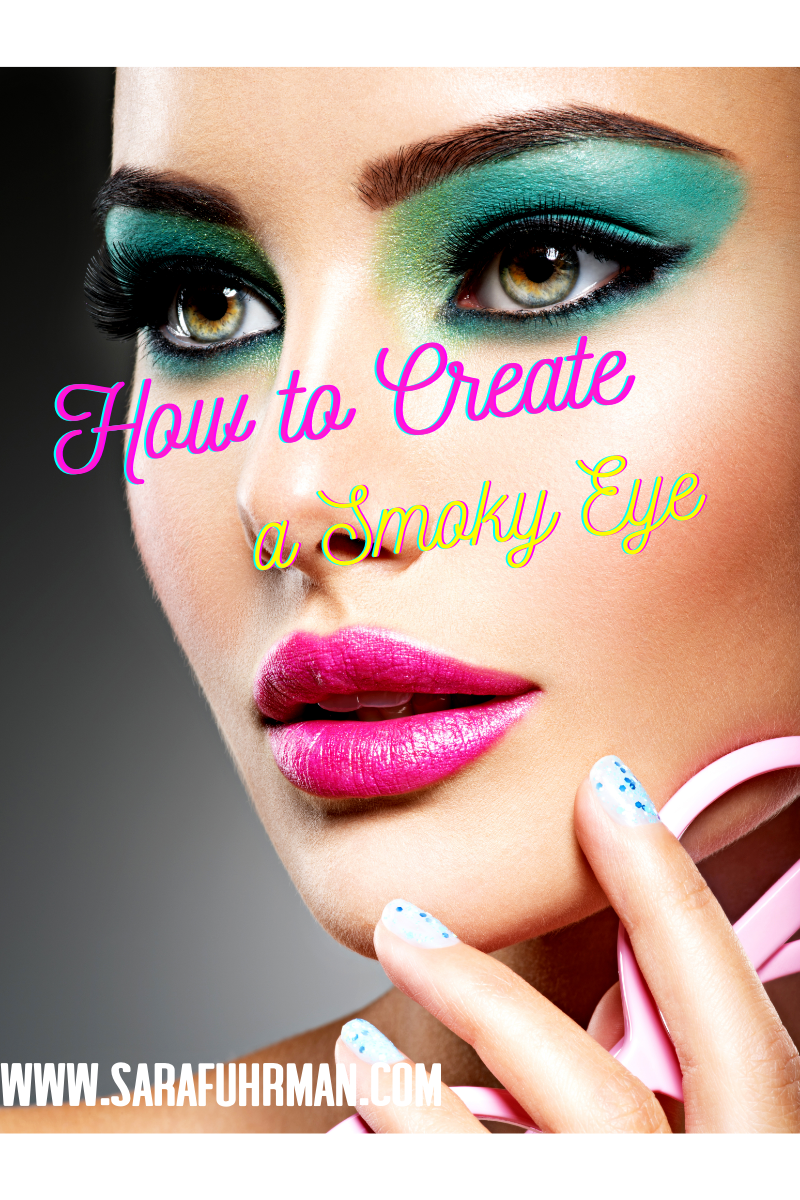
The first step with most eye makeup routines is to apply a base or a primer. This will help your eyeshadow or powder stick to your eyelid. Primers can come in a variety of colors- browns, tans, and neutrals, or even metallic silvers. I usually pick a tan or neutral shade to ensure it doesn’t show up under my eye shadow. However, if I’m going for a BOLD smoky eye, I will opt for a metallic silver or gold primer.
Apply your primer with your fingers or brush. I usually apply with my fingers. I find I can get a better application if I do the primer with my fingers.
After you’ve applied your primer, it is time to color in the crease of your eye. I use a light beauty product for this- an eyeshadow works well or you can also use a colored eyeliner, like a brown or burgundy pencil liner. I know it sounds a bit different to use a colored eyeliner, but I promise it works! Never be afraid to experiment with make-up!
The next step is to apply your transition shade- the color that will lead into your eye shadow. This is a light brown, and will help fade out the reddish tones in your primer or eyeliner. Color in the rest of your lid with a pearly shade on your lid. I use either white gold or silver for this step.
After that, use a dark brown shade to bring out the depth and darkness of your eye. You can either apply this in the crease with an angled brush or directly along your lash line. I prefer using my angled brush for this step because it helps me create a nice V shape on my eyes- something I’m always trying to achieve.
A defining feature of a smoky eye is also the sultry, lightly lined lower lash line. I’ve pulled out my favorite liner for this part- plum or black pencil liner works every time!
The final product: A perfectly simple eyeshadow that makes you look like you’re ready for your close up! Remember, you can always change out the colors in this tutorial. That’s what makes make-up fun, changing up colors and making it your own spin!
What is your favorite make-up tip? Leave a comment below!
Here are some other great tips: Easy Summer Recipes: Quick and Creative Meals!

Leave a Reply